
I have several annual traditions in my classroom. One of these is to make borax crystal ornaments. We turn this into an science experiment in which we practice the Scientific Method and how to make and test a hypothesis. My students absolutely LOVE the experiment! It’s pretty exciting to make the ornaments and then to come back to school the next day to find a crystallized ornament. I might do this experiment during the holidays with my class, but you can make your own Borax crystals any time of year. Here’s your step-by-step how to grow borax crystals.

How To Grow Borax Crystals
Gather Materials
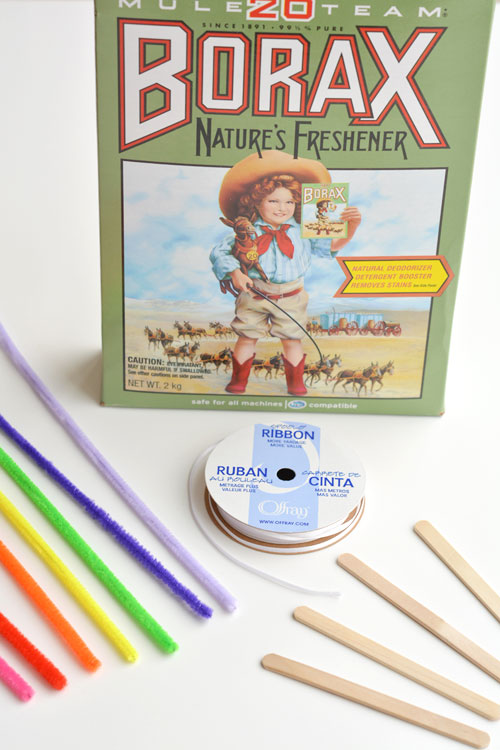
One reason I love making Borax crystals is that the project doesn’t require many supplies and the supplies it does require are all pretty inexpensive. All you’ll need includes:
- A box of Borax
- Large Clear Plastic Cups
- String or Yarn
- Pipe Cleaners (Gold and Silver are especially fun for the holidays)
- Popsicle Sticks
- A Spoon
- Small Cookie Cutters (shapes that can fit inside the plastic cup WITHOUT touching the bottom or sides!)
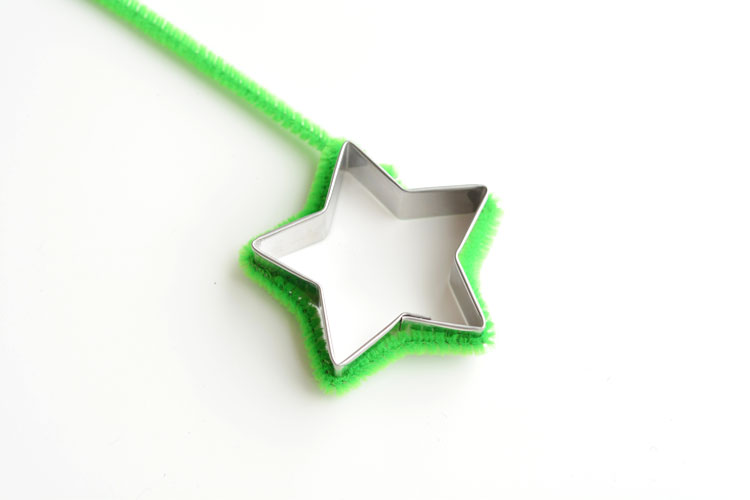
Form the Shapes
The first step you’ll take is to bend a pipe cleaner around the cookie cutter to form the shape. Seasonal cookie cutters make for some fun holiday shapes. You might need to twist two pipe cleaners together at the ends to make one long enough to wrap all the way around the cookie cutter.
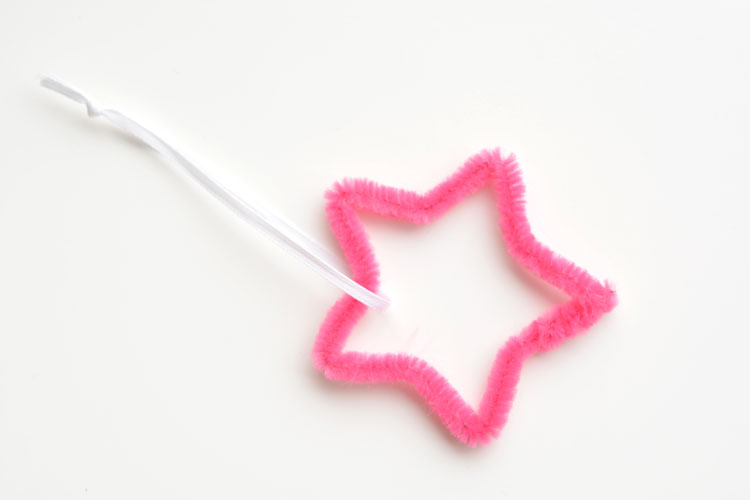
Attach the String
Once your shape is made, attach it to some yarn or string. Be careful though not to make the string too long!! You’ll want to make sure that when the shape is sitting inside the cup, that it doesn’t touch the bottom. The crystals won’t form on the pipe cleaner in places where it touches the cup.
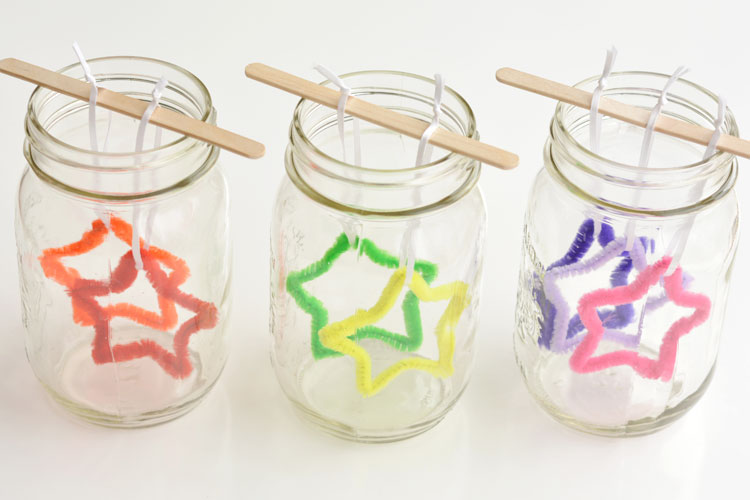
Place Inside Cups
After the string is attached to the pipe cleaners, slip a popsicle stick through the string/yarn and rest the popsicle stick over opening of the plastic cup. Again, be sure that the shape is resting in the cup and that it’s NOT touching the bottom or sides! Also, I don’t recommend putting more than one shape inside a cup. The crystals won’t form in any place where the pipe cleaners touch. We’ve had the best success when we’ve only put one shape in each cup.
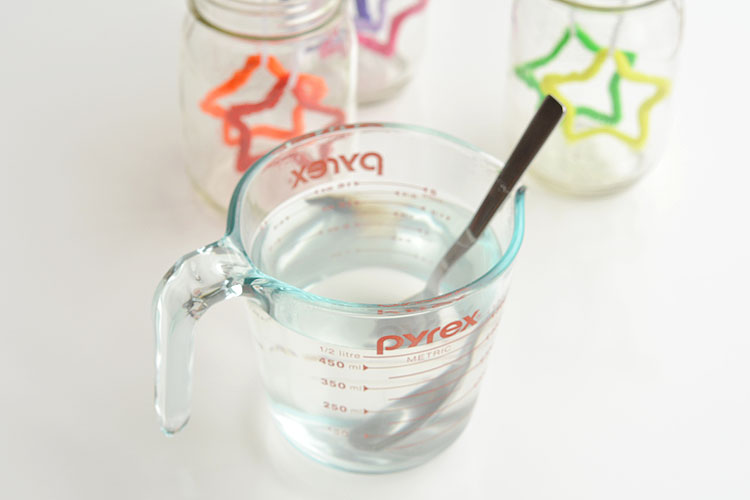
Prepare the Borax
Now it’s time to make the Borax solution. Boil some water on the stove or in a microwave safe container. Spoon in about 1/4 Cup of Borax (the amounts depends on the size of your cups). You’ll keep adding Borax until it stops dissolving in the water. Once it has dissolved, pour the Borax solution into the cups with the pipe cleaners.
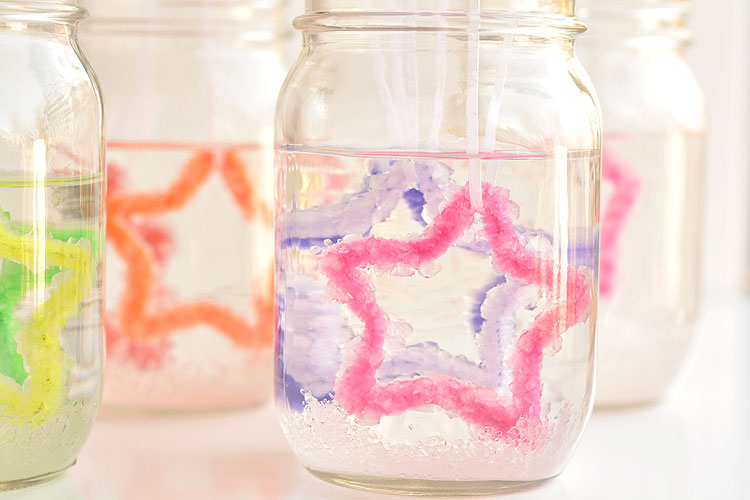
Position the Shapes
After pouring the Borax solution into the cups, make sure to carefully position the shapes inside the liquid so that they aren’t touching any part of the cup. Also be sure that the pipe cleaner is fully submerged in the water. Leave the pipe cleaners in the Borax solution overnight. I usually leave them for about 24 hours or so.
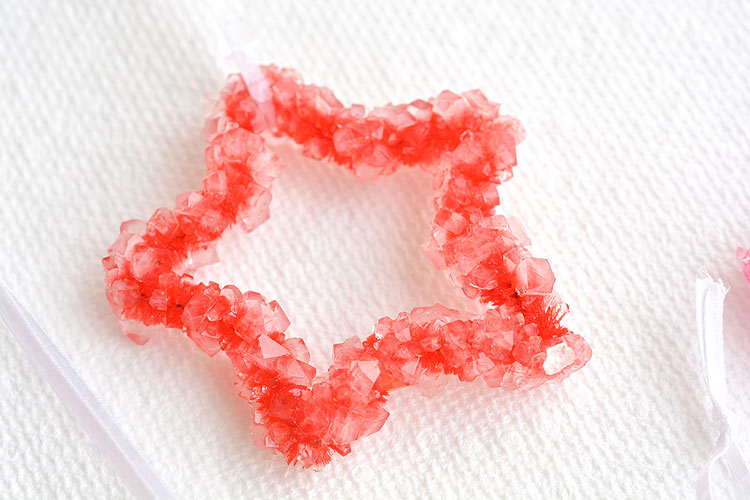
Dry
You’ll know your shapes are ready to be pulled out of the cups when you can see clearly formed crystals on the pipe cleaners. Let them dry for a couple or so hours on some paper towels. Once they’re dry, you can use them for tree decorations, gift tags, window displays, and more. For more fun next-step ideas, try using different colored pipe cleaners and food coloring in the Borax solution. What else might you use beside pipe cleaners to test new hypotheses and push deeper learning? I’d love to hear your ideas!
Now that you know how to grow borax crystals, what are you waiting for?

