Creating a distressed piece is not nearly as hard as some might think. In fact, with the right tools and supplies, it’s nothing short of simple, fun, and highly addictive! Here are 9 suggestions for beginners and addicts alike.
1. One Man’s Trash…
Start by finding that perfect piece for your project needs. Charity stores and thrift shops are good places to start, but I’ve always had better success with consignment stores. While slightly more pricey, these pieces are generally in better condition and tend to have more personality. Diyjoy shares some project ideas if you’re needing some inspiration.

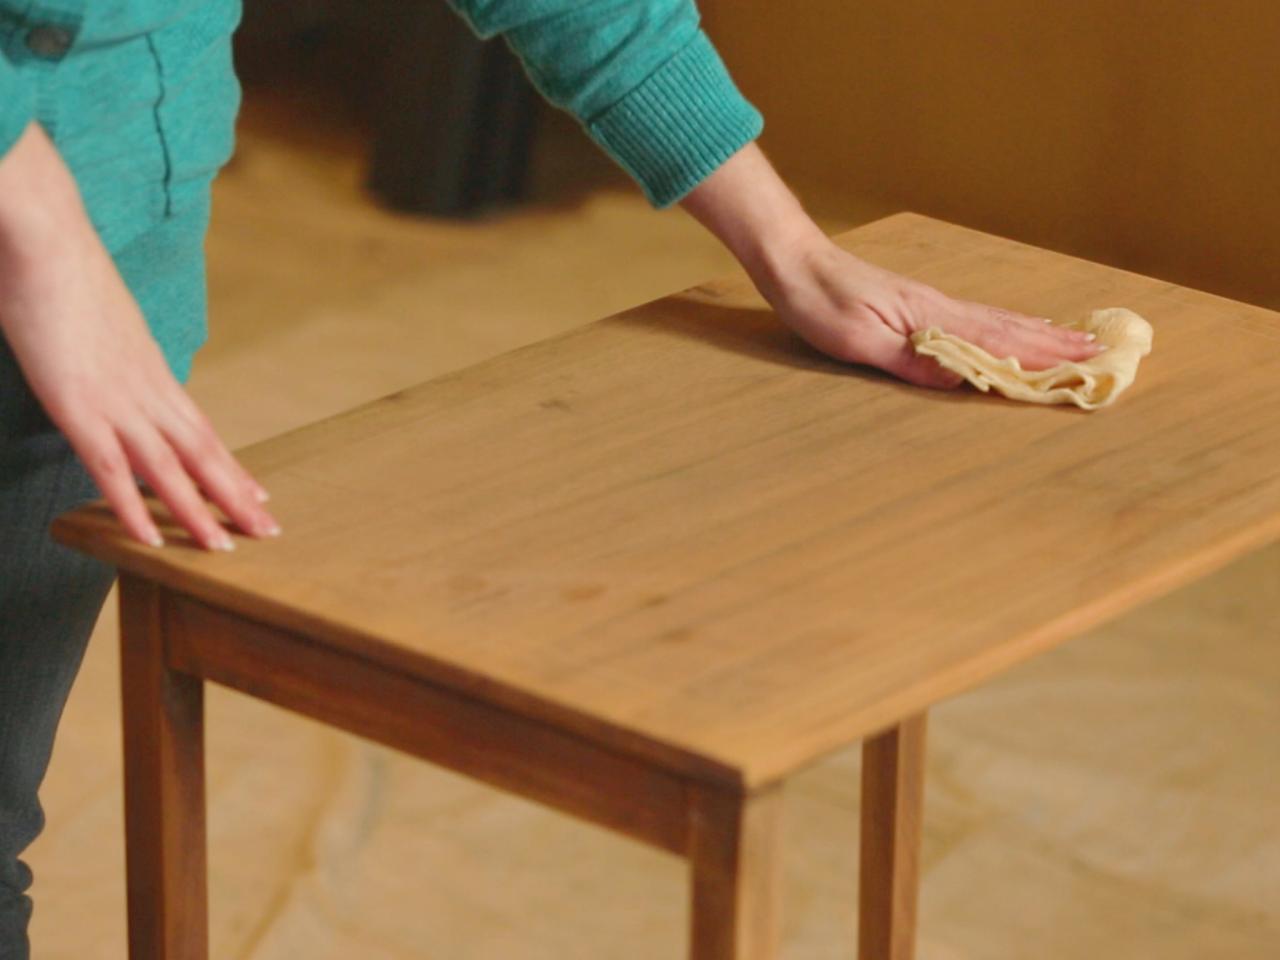
2. Built On Sand
This time, building your foundation on sand(ing) is a good thing. Once you’ve found your perfect project piece, sand it down to remove and/or break down the finish or top polish. You’ll also want to remove any dirt or dust that you won’t want in your finished product.
3. Better With Age
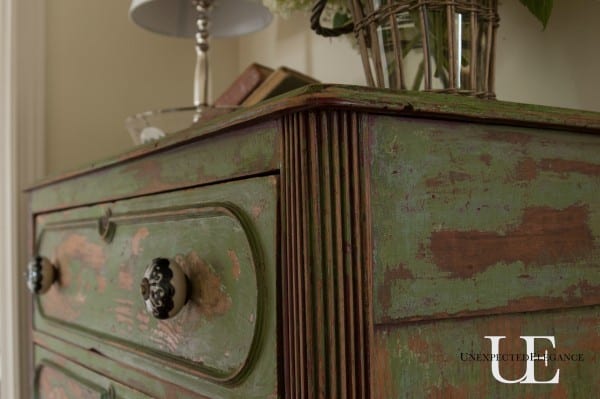
Not all projects, but some will benefit from having the sanded wood stained with a quick-dry ager. If you plan to keep most or a good portion of the base wood exposed, consider using a vintage wood ager such as Better With Age to give your piece a more authentic antique look.

4. Double Dip
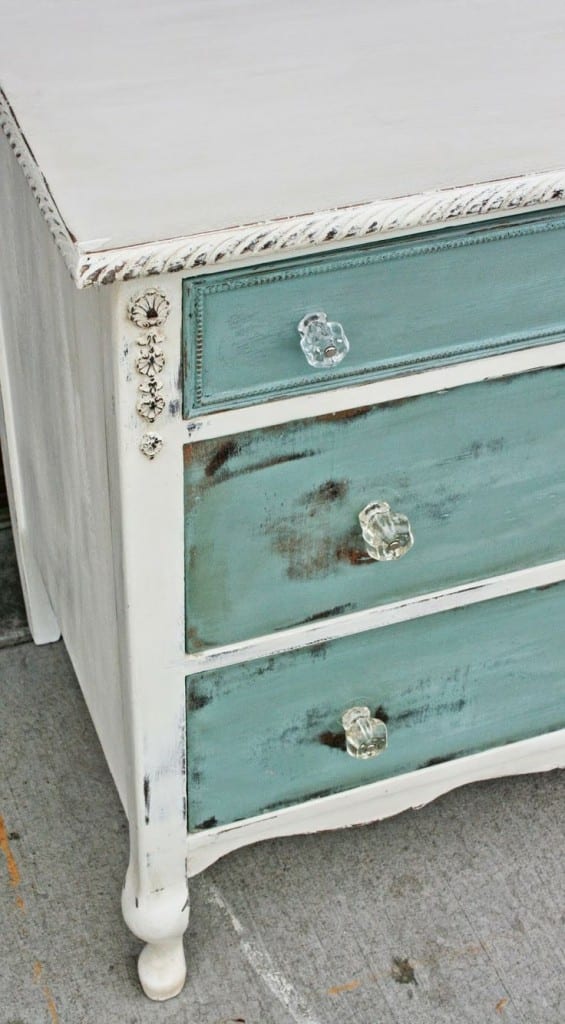
I have found that almost every project benefits from having two coats of paint. How to Build It shares the brilliant idea of using a lighter colored paint under a darker color to create a double tone once you sand it down for the antique look. Who said being two-toned is a bad thing!?
5. A Wax Job
No, no… not that kind of wax job. This kind of wax job will give you another option for achieving a double tone on your distressed piece. After applying your first coat of paint, rub some wood wax on the areas where you plan to do the most distressing. The wax will help keep the second coat of paint from drying and will therefore be easier to antique.
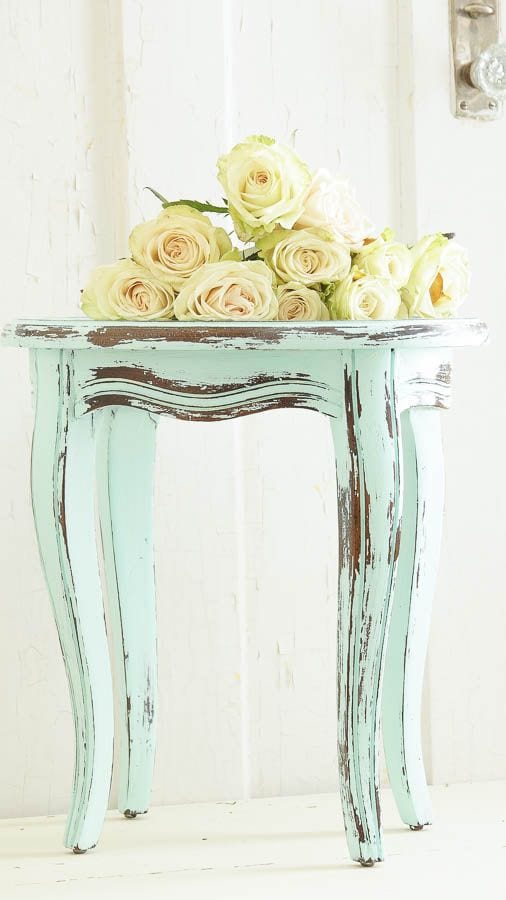
6. Slow and Steady
Once you’ve applied your paint and all coats are dry, it’s time to start distressing the look of your piece. Using handheld sandpaper, slowly and gently start scraping away your new coats of paint. I have found that rubbing in a few different directions helps you get into narrow spaces and gives the distressing a more natural look.
7. Ready To Go
If you’re lucky enough to have a piece of furniture that is already a color of which you want to keep, How To Build It suggests using paint remover and a scrapper to achieve your desired look.
8. Wax On, Wax Off
After your piece has achieved distressed perfection, consider applying a coat of polyurethane or wood wax. Your more natural and earthy projects will possibly look better without a finish, but I find that projects that are mostly covered in paint usually look more stunning with the top coat. Check out What Rose Knows for a tutorial on applying wood wax to your project.

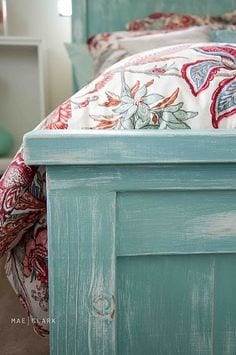
9. Chalk It Up!
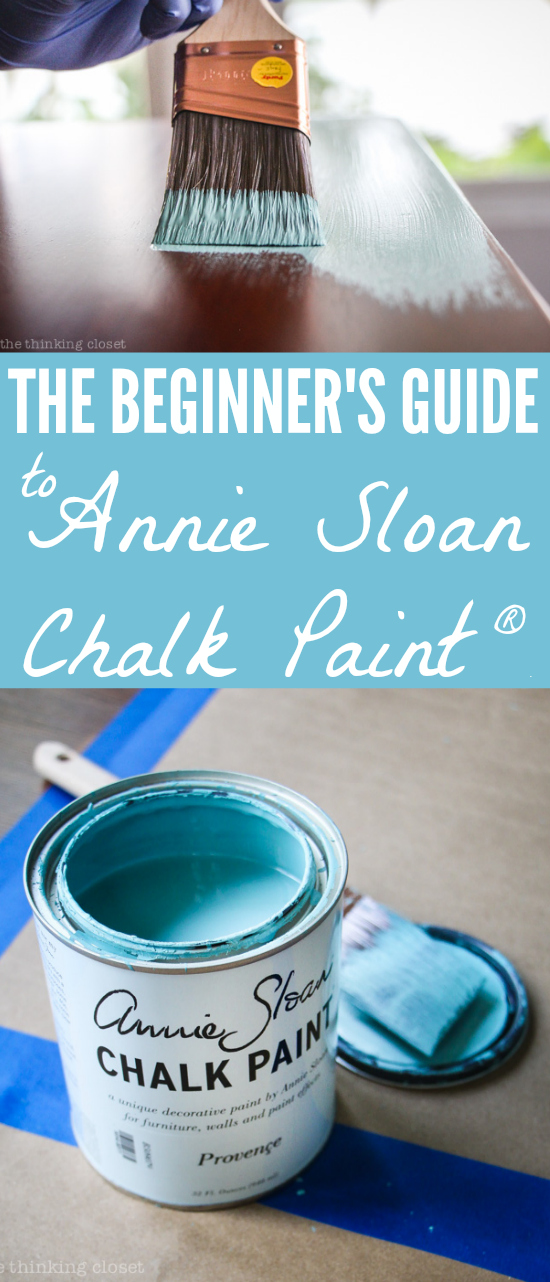
As I’ve done my own distressing projects, I’ve found that my favorite looks are always achieved with chalk paint. Chalk paint gives a softer, matte-like finish and is a VERY forgiving paint. It dries quickly and makes touch-ups oh so easy! The Julia Childs of the project paint world, Annie Sloan has many books, videos, and products that are wonderful resources and tools to use for your own chalk paint project. I especially love Annie’s wax and brushes. However, when it comes to paint, my absolute favorite is DecoArt’s Americana Chalky Finish. It’s less sticky than other brands and has more vibrant colors.
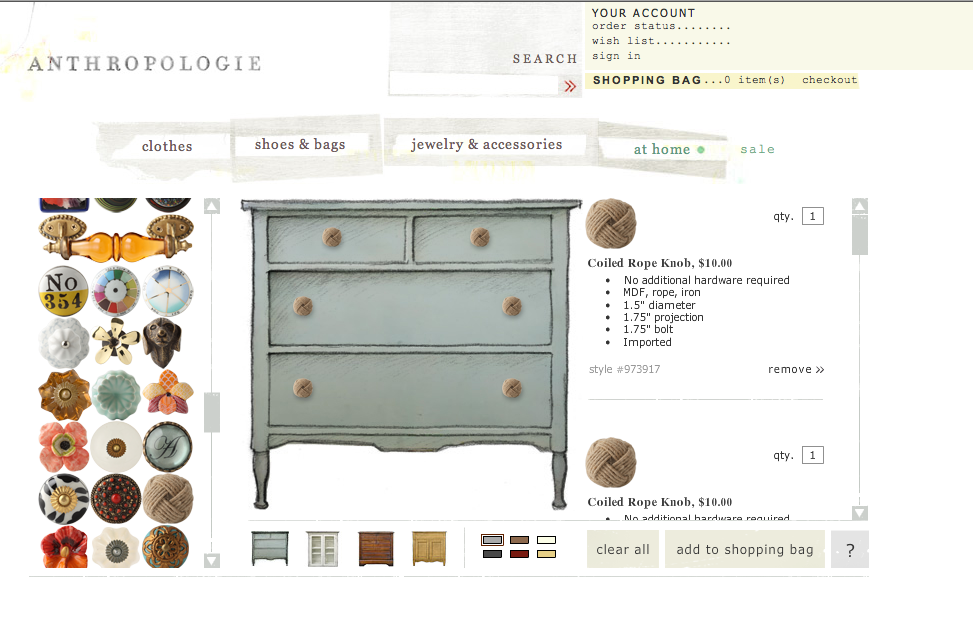
10. Handle With Care
One of my favorite parts of distressing projects is choosing and installing the handles and knobs. You can find a wide selection of these hardware items at local hobby and home improvement stores. However, for the perfect finishing touch to your beautiful new distressed piece, I really love the products offered at Anthropologie.